Bronzer Guide 2025: Achieve a Sun-Kissed Glow with Our Tutorial
Advertisements
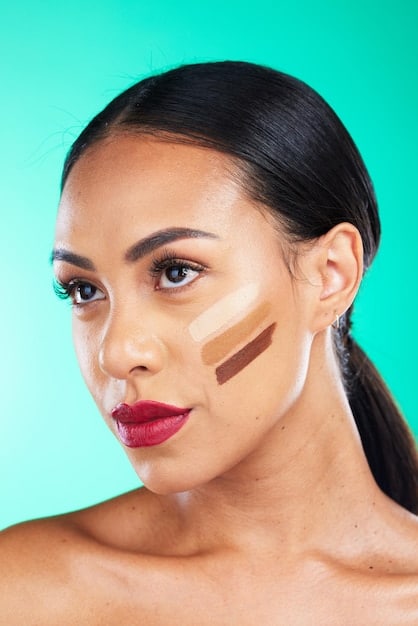
Unlock the secrets to a radiant, sun-kissed complexion in 2025 with our ultimate bronzer guide! Learn expert tips and techniques for selecting the perfect bronzer, application methods for every skin tone, and how to create a natural, glowing look that lasts all day.
Ready to achieve a radiant, sun-kissed glow without the harmful effects of the sun? This The Ultimate Guide to Bronzer: A Makeup Tutorial for a Sun-Kissed Glow in 2025 will walk you through everything you need to know, from choosing the right shade to mastering application techniques.
Advertisements
Choosing the Right Bronzer for Your Skin Tone
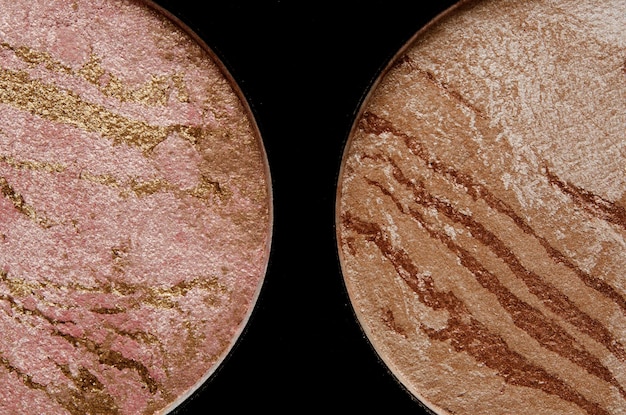
Selecting the right bronzer shade is crucial for achieving a natural, sun-kissed look. A bronzer that’s too dark or too light can look unnatural and even muddy on the skin. Let’s explore how to find the perfect bronzer shade for your unique skin tone.
Understanding Your Skin’s Undertone
Before choosing a bronzer, determine your skin’s undertone. Undertones fall into three categories: warm, cool, and neutral. Warm undertones have hints of yellow, peach, or gold, while cool undertones lean towards pink, red, or blue. Neutral undertones have a balance of both warm and cool hues.
Bronzer Shades for Fair Skin
If you have fair skin, opt for light bronzers with a neutral or slightly warm undertone. Avoid bronzers that are too orange or shimmery, as these can look unnatural on fair complexions. Matte bronzers are often a better choice for a subtle, sun-kissed effect.
Bronzer Shades for Medium Skin
Medium skin tones have more flexibility when it comes to bronzer shades. Warm bronzes with golden or bronze undertones work beautifully, enhancing the skin’s natural warmth. You can also experiment with bronzes that have a touch of shimmer for a radiant glow.
Bronzer Shades for Dark Skin
Dark skin tones can handle deeper, richer bronzers with warm or red undertones. Avoid bronzers that are too ashy or pale, as these can make the skin look dull. Look for bronzers that have a high pigment payoff to create a noticeable, sun-kissed effect.
- Fair Skin: Light, neutral or slightly warm matte bronzers.
- Medium Skin: Warm bronzes with golden or bronze undertones, shimmer options.
- Dark Skin: Deep, rich bronzers with warm or red undertones, high pigment.
Choosing the right bronzer shade involves understanding your skin’s undertone and selecting a product that complements your complexion. By following these guidelines, you can achieve a natural, sun-kissed glow that enhances your features.
Essential Tools for Bronzer Application
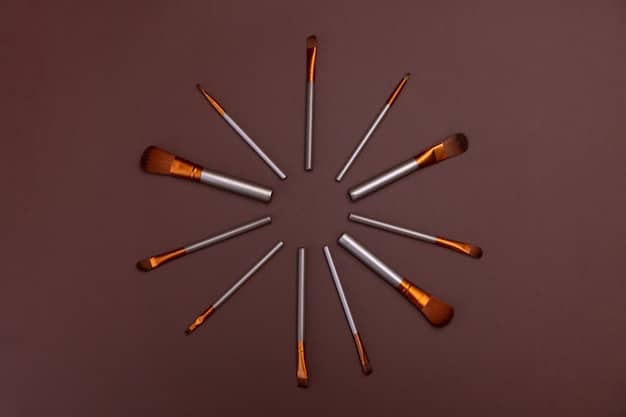
Having the right tools is just as important as choosing the right bronzer shade. The correct brush can make a significant difference in how your bronzer applies and blends into your skin. Here’s a breakdown of the essential tools you’ll need for flawless bronzer application.
The Perfect Bronzer Brush
The ideal bronzer brush is fluffy, soft, and slightly angled. A large, angled brush allows you to apply the bronzer precisely to the areas where the sun would naturally hit your face. The soft bristles ensure a smooth, even application without harsh lines.
Other Useful Brushes
While a bronzer brush is the primary tool, other brushes can also be helpful. A smaller, tapered brush is great for contouring the nose or adding more definition to the cheekbones. A kabuki brush can be used for blending the bronzer seamlessly into the skin.
Sponges and Applicators
Sponges and applicators are less common for bronzer application, but they can be useful for specific techniques. A damp makeup sponge can help blend cream or liquid bronzers for a natural, dewy finish. Powder puffs can be used to set the bronzer and prevent it from moving throughout the day.
Selecting the right tools for bronzer application is essential for achieving a flawless, natural look. A high-quality bronzer brush will make the application process easier and more effective. Don’t underestimate the power of a good brush!
Step-by-Step Bronzer Application Tutorial
Now that you’ve chosen the right bronzer and gathered your tools, it’s time to learn the step-by-step application process. This tutorial will guide you through each step, ensuring you achieve a natural, sun-kissed glow.
Step 1: Prep Your Skin
Start with clean, moisturized skin. Apply your foundation and concealer as usual. Setting your base with a light powder can help the bronzer blend more smoothly.
Step 2: Load Your Brush
Dip your bronzer brush into the product, tapping off any excess. It’s better to start with a small amount and build up the color gradually to avoid over-application.
Step 3: The E-Shape Technique
Apply the bronzer in an “E” shape on both sides of your face. Start at your forehead near the hairline, sweep down to your cheekbones, and then finish along your jawline. This technique mimics where the sun naturally hits your face.
Step 4: Blend, Blend, Blend
Use your bronzer brush to blend the bronzer seamlessly into your skin. Pay special attention to the edges to avoid harsh lines. Use circular motions to buff the product into your skin for a natural finish.
- Prep: Cleanse, moisturize, and apply foundation/concealer.
- Load: Dip brush, tap off excess.
- Apply: Use the “E” shape technique on both sides.
- Blend: Blend edges using circular motions.
Following this step-by-step tutorial will help you achieve a flawless bronzer application every time. Remember to blend well and build up the color gradually for a natural, sun-kissed glow.
Bronzer Placement: Enhancing Your Features
Proper bronzer placement can enhance your features and add definition to your face. Understanding where to apply bronzer can make a significant difference in your overall makeup look. Let’s explore the key areas for bronzer application.
Contouring with Bronzer
Bronzer can be used to contour the face, creating the illusion of higher cheekbones and a slimmer jawline. Apply bronzer along the hollows of your cheeks, starting from your ear and blending towards the corner of your mouth. Also, apply along your jawline to define it further.
Highlighting with Bronzer
While bronzer is primarily used for adding warmth, it can also be used to subtly highlight certain areas. Apply a touch of bronzer to your temples, the bridge of your nose, and your chin to add dimension and warmth to these areas.
Bringing out the Sun-Kissed Glow
To achieve a natural, sun-kissed glow, focus on applying bronzer to the areas where the sun naturally hits your face. This includes your forehead, cheekbones, nose, and chin. Avoid applying bronzer all over your face, as this can look unnatural.
Proper bronzer placement can transform your makeup look, enhancing your features and adding dimension to your face. By focusing on contouring, highlighting, and mimicking the sun’s natural effect, you can achieve a flawless, sun-kissed glow.
Common Bronzer Mistakes and How to Avoid Them
Applying bronzer can be tricky, and it’s easy to make mistakes if you’re not careful. Knowing the common pitfalls and how to avoid them is crucial for achieving a natural, flawless finish. Let’s explore some of the most common bronzer mistakes and how to correct them.
Using the Wrong Shade
One of the most common mistakes is using a bronzer shade that is too dark or too orange for your skin tone. This can result in an unnatural, muddy appearance. Always test the bronzer on your skin before applying it to your face.
Over-Applying Bronzer
Applying too much bronzer can make your face look dirty or unnatural. Start with a small amount and build up the color gradually. Remember, it’s always easier to add more bronzer than to remove it.
Not Blending Properly
Failing to blend the bronzer properly can result in harsh lines and an uneven finish. Use a fluffy brush and circular motions to blend the bronzer seamlessly into your skin. Pay special attention to the edges to avoid any visible lines.
Applying Bronzer All Over
Applying bronzer all over your face can make your complexion look flat and unnatural. Focus on applying bronzer to the areas where the sun naturally hits your face, such as your forehead, cheekbones, and jawline.
- Wrong Shade: Test bronzer on skin, choose a shade close to your skin tone.
- Over-Applying: Start with small amount, build up gradually.
- Not Blending: Use fluffy brush, blend in circular motions.
- All Over Application: Focus on natural sunlight areas.
Avoiding these common bronzer mistakes will ensure that you achieve a natural, flawless finish every time. Remember to choose the right shade, apply sparingly, blend well, and focus on the areas where the sun naturally hits your face.
Maintaining Your Sun-Kissed Glow Throughout the Day
Once you’ve achieved your perfect sun-kissed glow, it’s important to maintain it throughout the day. Several factors can affect how your bronzer looks as the day progresses, but with the right techniques, you can keep your complexion looking radiant and fresh.
Setting Your Bronzer
Applying a setting spray or powder can help lock your bronzer in place and prevent it from fading or moving throughout the day. Choose a lightweight setting spray or a translucent powder to avoid adding extra texture to your skin.
Touch-Ups on the Go
Keep a compact mirror and a small bronzer brush in your bag for quick touch-ups. If you notice your bronzer fading or becoming uneven, simply reapply a small amount to the affected areas and blend well.
Avoiding Sweat and Oil
Control excess sweat and oil with blotting papers or a mattifying primer. These products can help keep your bronzer looking fresh and prevent it from sliding off your face. Consider using an oil-free bronzer formula if you have oily skin.
Maintaining your sun-kissed glow throughout the day requires a few simple steps. Setting your bronzer, touching up as needed, and controlling sweat and oil will help keep your complexion looking radiant and fresh from morning to night.
| Key Point | Brief Description |
|---|---|
| 🎨 Choosing Shade | Match bronzer to your skin’s undertone – warm, cool, or neutral. |
| 🖌️ Application Brush | Use a fluffy, angled brush for even distribution. |
| ☀️ “E” Technique | Apply on forehead, cheekbones, and jawline in an “E” shape. |
| 🔄 Blending Rules | Blend edges to avoid harsh lines and create a natural look. |
FAQ
▼
For beginners, a matte powder bronzer is often the easiest to work with. It allows for gradual application and blending, reducing the risk of over-application or streaks.
▼
To avoid a muddy look, use a light hand and tap off excess product from your brush before applying. Also, ensure your skin is properly moisturized and set with a light powder.
▼
Yes, you can use bronzer for contouring, but choose a shade that’s only slightly darker than your natural skin tone and has a matte finish to create natural shadowing.
▼
Ideally, you should clean your bronzer brush once a week to remove buildup and bacteria. This will also ensure a smoother and more hygienic application.
▼
If you over-apply bronzer, use a clean, fluffy brush to blend the edges until the color is diffused. You can also use a damp makeup sponge to gently lift off excess product.
Conclusion
Achieving a sun-kissed glow with bronzer is all about choosing the right shade, using the proper tools, and mastering the application techniques. By following this ultimate guide, you’ll be well on your way to a radiant, natural-looking complexion in 2025.


