Contouring & Highlighting Demystified: 4 Techniques for Every Face Shape in the US, Updated for 2026
Advertisements
Latest developments on Contouring & Highlighting Demystified: 4 Techniques for Every Face Shape in the US, Updated for 2026, with key facts, verified sources and what readers need to monitor next in Estados Unidos, presented clearly in Inglês (Estados Unidos) (en-US).
Contouring & Highlighting Demystified: 4 Techniques for Every Face Shape in the US, Updated for 2026 is shaping today’s beauty agenda with new details released by makeup artists and industry sources. This update prioritizes what changed, why it matters and what to watch next, in a straightforward news format.
Advertisements
Understanding the Evolution of Contouring & Highlighting
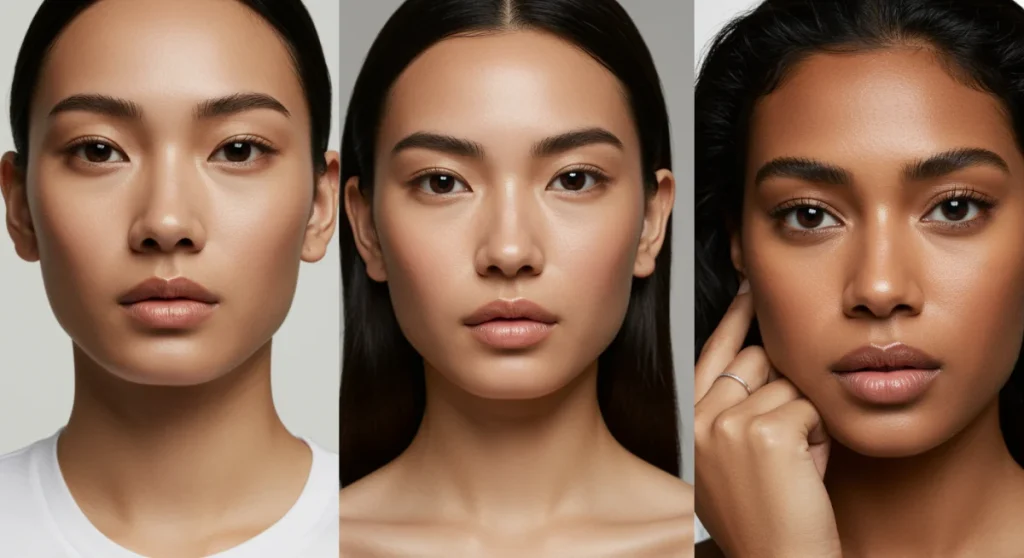
The landscape of beauty, particularly in makeup artistry, continuously evolves, with contouring and highlighting techniques undergoing significant refinement. What was once a stage-makeup secret has become an accessible tool for everyday enhancement, adapted for diverse facial structures across the United States.
This evolution reflects a broader trend towards personalized beauty, moving away from rigid rules to embrace individual features. The focus for 2026 is on achieving a natural, yet sculpted appearance, emphasizing dimension without harsh lines.
Advertisements
The updated approaches for contouring highlighting techniques aim to simplify the process while maximizing impact, making sophisticated looks attainable for everyone. Understanding these shifts is crucial for anyone looking to stay current in their beauty regimen.
Key Principles for Effective Contouring and Highlighting
Effective contouring and highlighting rely on understanding light and shadow to create dimension and define facial features. The goal is to recede certain areas with darker shades (contour) and bring others forward with lighter, reflective tones (highlight).
Mastering these principles is essential, regardless of your face shape, as they form the foundation of any successful sculpted look. The updated techniques for 2026 emphasize seamless blending and strategic product placement for a natural finish.
Proper product selection, from creams to powders, and the right tools, like brushes and sponges, also play a crucial role in achieving a professional result. These elements combine to demystify the process for all users.
Choosing the Right Products and Tools
Selecting appropriate contour and highlight products is paramount for a flawless application. Cream formulas offer a more natural, blendable finish, ideal for dry or mature skin, while powders provide a strong, long-lasting effect, suitable for oilier skin types.
The shade of your contour should be two to three shades darker than your natural skin tone and have a cool undertone to mimic natural shadows. Highlighters, on the other hand, should be one to two shades lighter and possess a subtle shimmer to catch the light effectively.
- Contour Shades: Opt for cool-toned browns or grays to create realistic shadows.
- Highlighter Tones: Choose champagne, pearl, or gold hues depending on your skin’s undertone.
- Blending Tools: Use dense brushes for precise contour application and fluffy brushes or damp sponges for seamless blending.
Strategic Application for Natural Dimension
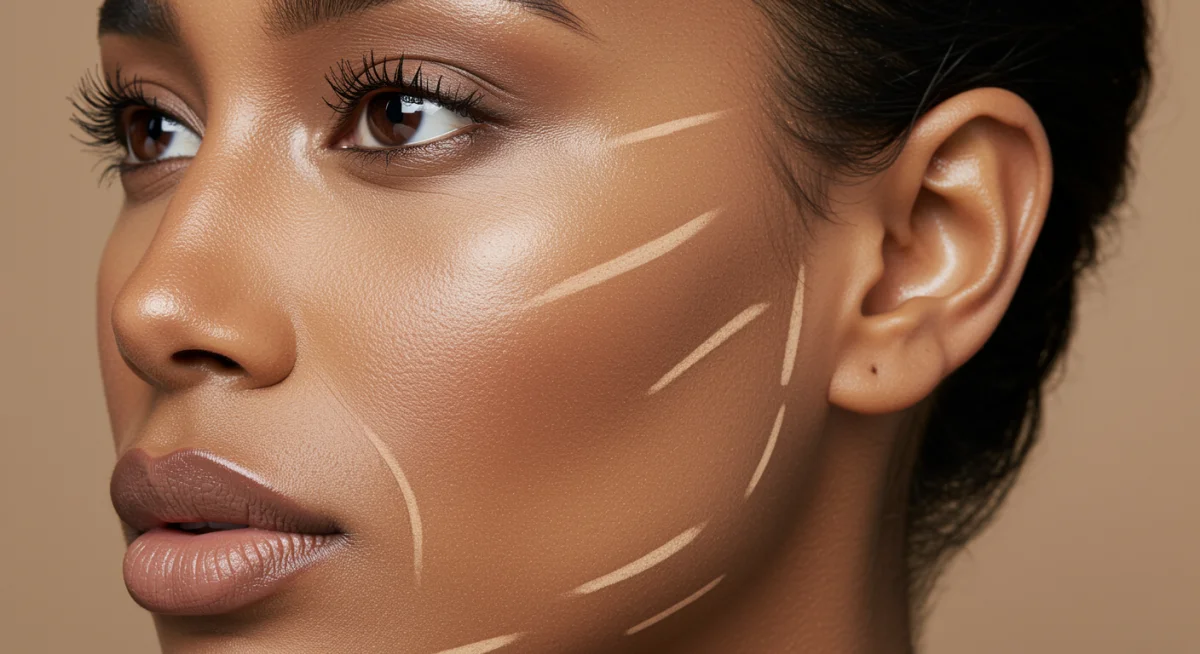
Strategic application involves understanding where light naturally hits your face and where shadows typically fall. This knowledge guides the placement of your contour and highlight products, ensuring a harmonious and believable sculpted effect.
For contour, focus on areas like the hollows of your cheeks, jawline, and temples to create definition. Highlighting should be applied to the high points of your face, such as the cheekbones, brow bone, and cupid’s bow, to attract light and create a lifted appearance.
The key is to build coverage gradually and blend thoroughly, avoiding harsh lines that can detract from a natural finish. This careful approach is central to the updated contouring highlighting techniques for every face shape.
Technique 1: The Classic Sculpt for Oval Faces
Oval face shapes are often considered the most balanced, allowing for a versatile approach to contouring and highlighting. The goal here is to enhance natural symmetry and add subtle definition without drastically altering the face’s inherent proportions.
For oval faces, the emphasis is on gentle sculpting that complements the natural curvature of the face. This technique avoids heavy-handed application, focusing instead on a soft, diffused look that enhances rather than transforms.
The classic sculpt aims to maintain the harmonious balance of an oval face while adding depth and luminosity. It is a foundational method for those seeking refined elegance through contouring highlighting techniques.
Enhancing Natural Symmetry
To enhance natural symmetry on an oval face, begin by applying contour lightly in the hollows of the cheeks, extending towards the temples. This creates a soft shadow that defines the cheekbones without making them appear overly sharp.
A subtle application along the jawline can further refine the face’s lower half, providing a polished finish. Avoid heavy contouring on the forehead, as oval faces typically have well-proportioned foreheads that require minimal adjustment.
Highlighting should focus on the highest points: the top of the cheekbones, the brow bone, and a touch on the cupid’s bow. This brings light to the center of the face, enhancing its natural radiance.
Technique 2: Softening Angles for Square Faces
Square face shapes are characterized by strong, angular jawlines and broad foreheads, creating a powerful and defined aesthetic. The objective of contouring and highlighting for square faces is to soften these angles and create a more elongated, oval-like appearance.
This technique focuses on strategic placement to minimize the prominence of the jawline and forehead corners, while drawing attention to the center of the face. It’s about creating an illusion of softness and gentle curves.
By skillfully applying contour and highlight, individuals with square faces can achieve a more harmonious and balanced look. This approach is a cornerstone of updated contouring highlighting techniques for 2026.
Minimizing Jawline and Forehead Prominence
For square faces, contour should be applied along the outer edges of the forehead, near the hairline, and heavily along the jawline, especially at the corners. This helps to recede these strong features, making the face appear less angular.
Additionally, a light sweep of contour under the cheekbones can create a more rounded effect, further softening the face. The blending must be meticulous to ensure a natural transition and avoid noticeable lines.
- Contour Placement: Outer forehead, jawline corners, and subtly under cheekbones.
- Highlight Placement: Center of the forehead, bridge of the nose, and chin to elongate.
- Blending Focus: Thorough blending is crucial to soften harsh angles effectively.
Technique 3: Adding Width and Definition for Long Faces
Long or rectangular face shapes often benefit from techniques that aim to create the illusion of width and reduce the perception of length. The goal is to balance the facial proportions, making the face appear shorter and wider.
This involves strategically applying contour to the top of the forehead and along the chin to visually shorten the face. Highlighting is then used to emphasize the width, particularly across the cheekbones.
The updated methods for contouring highlighting techniques in 2026 for long faces prioritize horizontal emphasis. This creates a more balanced and harmonious overall appearance, moving away from a vertical perception.
Creating the Illusion of Shorter Length
To visually shorten a long face, apply contour along the hairline at the top of the forehead and directly on the tip of the chin. This creates shadows that recede these areas, making the face appear less elongated.
Instead of extending contour down the sides of the face, focus on horizontal application across the cheekbones to add width. This technique helps break up the vertical lines characteristic of a long face.
Highlighting should be concentrated on the apples of the cheeks, sweeping outwards towards the temples, to further enhance the perception of width. A touch on the brow bone can also help broaden the upper face.
Technique 4: Balancing Proportions for Heart-Shaped Faces
Heart-shaped faces are distinguished by a wider forehead and cheekbones, tapering down to a narrower, sometimes pointed, chin. The primary objective of contouring and highlighting for this face shape is to balance these proportions.
The technique aims to soften the width of the forehead and cheekbones while giving a subtle fullness to the chin area. This creates a more harmonious and balanced overall facial structure.
By skillfully applying contour to the broader areas and highlighting the narrower ones, individuals with heart-shaped faces can achieve a more symmetrical and pleasing look. This is a key aspect of modern contouring highlighting techniques.
Softening Forehead and Defining Chin
For heart-shaped faces, contour should be applied along the temples and the outer edges of the forehead to visually reduce its width. A light application under the cheekbones can also help to soften their prominence without making them disappear.
Avoid heavy contouring on the jawline, as this area is typically already narrower. Instead, a touch of highlight on the chin can bring it forward, creating a more balanced appearance with the upper face.
- Contour Zones: Temples, outer forehead, and lightly under cheekbones.
- Highlight Zones: Bridge of the nose, cupid’s bow, and chin.
- Goal: Create a harmonious balance between the wider upper face and narrower lower face.
Advanced Blending and Finishing Touches
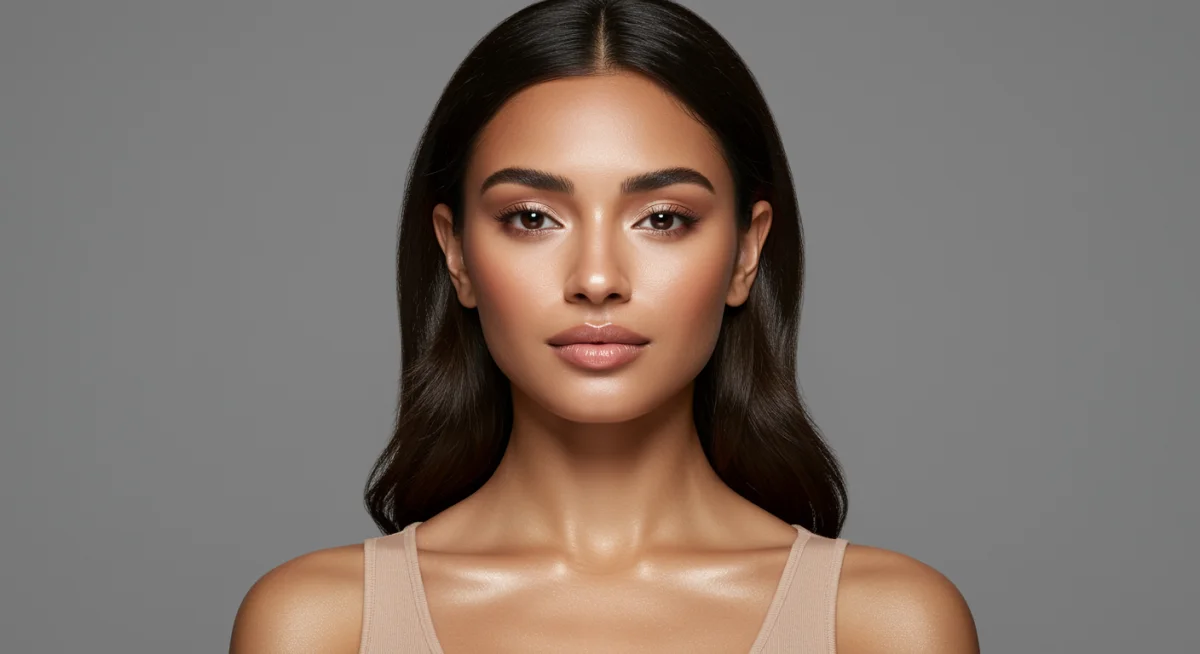
Beyond initial application, the true artistry of contouring and highlighting lies in flawless blending and the finishing touches. A well-blended look appears seamless and natural, avoiding any harsh lines or obvious makeup.
Proper blending integrates the contour and highlight into your skin, creating a soft transition between shades. This step is critical for achieving the sophisticated, updated aesthetic of 2026.
Finishing touches, such as setting sprays and powders, ensure longevity and a polished appearance throughout the day. These details elevate the entire contouring highlighting techniques application.
The Art of Seamless Blending
Seamless blending is achieved by using appropriate tools and techniques, such as a damp beauty sponge or a fluffy blending brush. Circular motions and light tapping help to diffuse the product into the skin, creating a soft, natural shadow and light effect.
It’s important to blend contour upwards towards the hairline and highlight outwards from the high points of the face. This ensures that the products meld seamlessly with your foundation and natural skin tone.
Checking your makeup in various lighting conditions, including natural light, can help identify any unblended areas that need further attention. This meticulous approach guarantees a polished finish for your contouring highlighting techniques.
Maintaining Your Sculpted Look All Day
Ensuring your carefully sculpted look lasts throughout the day requires a few key steps in your beauty routine. Longevity is as important as the initial application, especially for those busy schedules.
Setting your makeup properly can prevent smudging, fading, and creasing, preserving the definition created by your contour and highlight. This is crucial for maintaining a fresh and flawless appearance.
From primers to setting sprays, incorporating these products can significantly extend the wear of your contouring highlighting techniques. These steps are essential for a durable and impactful look.
Setting Products for Extended Wear
Begin with a good primer formulated to extend makeup wear, creating a smooth canvas for application. After applying your contour and highlight, a light dusting of translucent setting powder, especially over contoured areas, can help lock everything in place.
For highlighting, a finely milled powder highlighter layered over a cream highlight can intensify the glow and improve its staying power. Be mindful not to over-powder, as this can diminish the luminosity.
Finally, a high-quality setting spray applied at the end of your routine will fuse all layers of makeup together, providing a long-lasting finish. These steps ensure your contouring highlighting techniques remain impeccable.
| Key Technique | Face Shape Focus |
|---|---|
| Classic Sculpt | Enhancing natural symmetry for oval faces. |
| Softening Angles | Minimizing prominence for square faces. |
| Adding Width | Creating illusion of shorter length for long faces. |
| Balancing Proportions | Softening forehead and defining chin for heart-shaped faces. |
Frequently Asked Questions About Contouring & Highlighting
The primary difference lies in strategic placement to either enhance, soften, or balance features. Oval faces get subtle definition, square faces benefit from softening angles, long faces require visual shortening, and heart-shaped faces need balanced proportions. Each technique aims to achieve harmony tailored to the individual’s unique structure.
For contour, select a shade two to three times darker than your natural skin tone with a cool undertone to mimic natural shadows. For highlight, choose a shade one to two times lighter with a subtle shimmer that complements your skin’s undertone, such as champagne for warm tones or pearl for cool tones.
Yes, layering cream and powder products can enhance longevity and intensity. Apply cream contour and highlight first, blending thoroughly. Then, set with a matching powder contour and highlight to lock the look in place and add an extra dimension. This technique is often used by professionals for a more durable finish.
Common mistakes include using shades that are too warm or too dark for contour, leading to an unnatural appearance. Poor blending, creating harsh lines, and applying too much product are also frequent errors. Ensure thorough blending and choose shades that complement your skin tone for a seamless finish.
For cream products, a dense synthetic brush or a damp beauty sponge works best for blending. For powders, a fluffy, angled brush for contour and a smaller, tapered brush for highlight are ideal. The right tools ensure precise application and seamless blending, crucial for achieving a professional finish with all contouring highlighting techniques.
Looking Ahead: The Future of Sculpted Beauty
The continuous evolution of contouring highlighting techniques signifies a broader shift in beauty towards personalized and intuitive makeup application. As we move into 2026, the emphasis remains on enhancing individual features rather than adhering to universal standards, fostering a more inclusive approach to beauty.
Consumers in the US are increasingly seeking products and methods that offer both efficacy and ease of use, reflecting a desire for sophisticated results without extensive effort. This trend will likely drive further innovation in product formulations and application tools.
Monitoring new releases and expert tutorials will be key for staying current with these dynamic trends. The future of sculpted beauty promises even more refined, user-friendly, and diverse options for every face shape.


